Best Safe Oven Cleaning Practices: A Casual, Helpful Guide
Cleaning your oven isn’t anyone’s idea of fun, but it’s an essential part of keeping your kitchen safe, efficient, and even a little happier. If you’ve ever opened your oven and caught a whiff of burnt-on pizza cheese or seen a smoke cloud billowing when you preheat, you know it’s time to tackle the grime. Here’s a friendly, down-to-earth guide to safe oven cleaning—with useful tips, real-life encouragement, and practical steps to keep things stress-free and hazard-free for everyone in your household.
Why Safe Oven Cleaning Matters
Keeping your oven clean is about much more than appearances:
· Fire Hazard Reduction: Built-up grease and food bits can ignite, especially during high-temp cooking.
· Better Taste & Smell: Old residues may impart odd flavors or cause smoke, affecting your meals.
· Efficiency: A clean oven heats more evenly and operates efficiently, saving you time and energy.
· Longevity: Regular cleaning preserves oven parts, potentially saving you money on repairs.
I once ignored a crusty spill from a pie disaster and, months later, found every dinner smelled faintly of burnt fruit. Lesson learned—cleanup saves meals!
Getting Ready: What You Need
Before diving in, gather your supplies. Here’s a handy checklist:
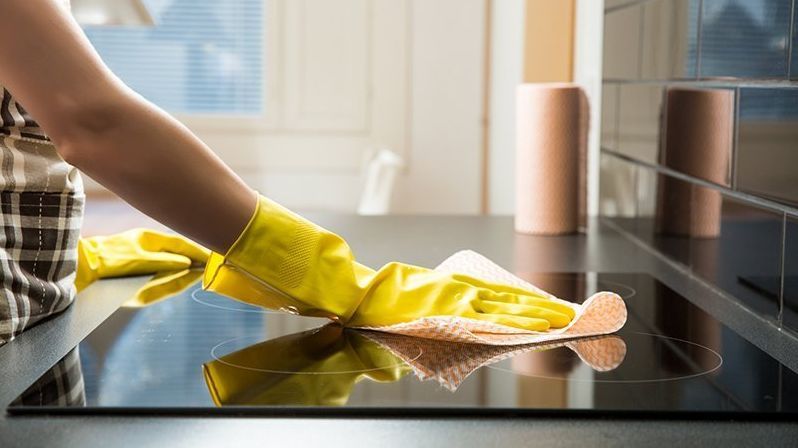
· Protective Gloves (preferably long rubber ones)
· Old Towels or Paper Towels
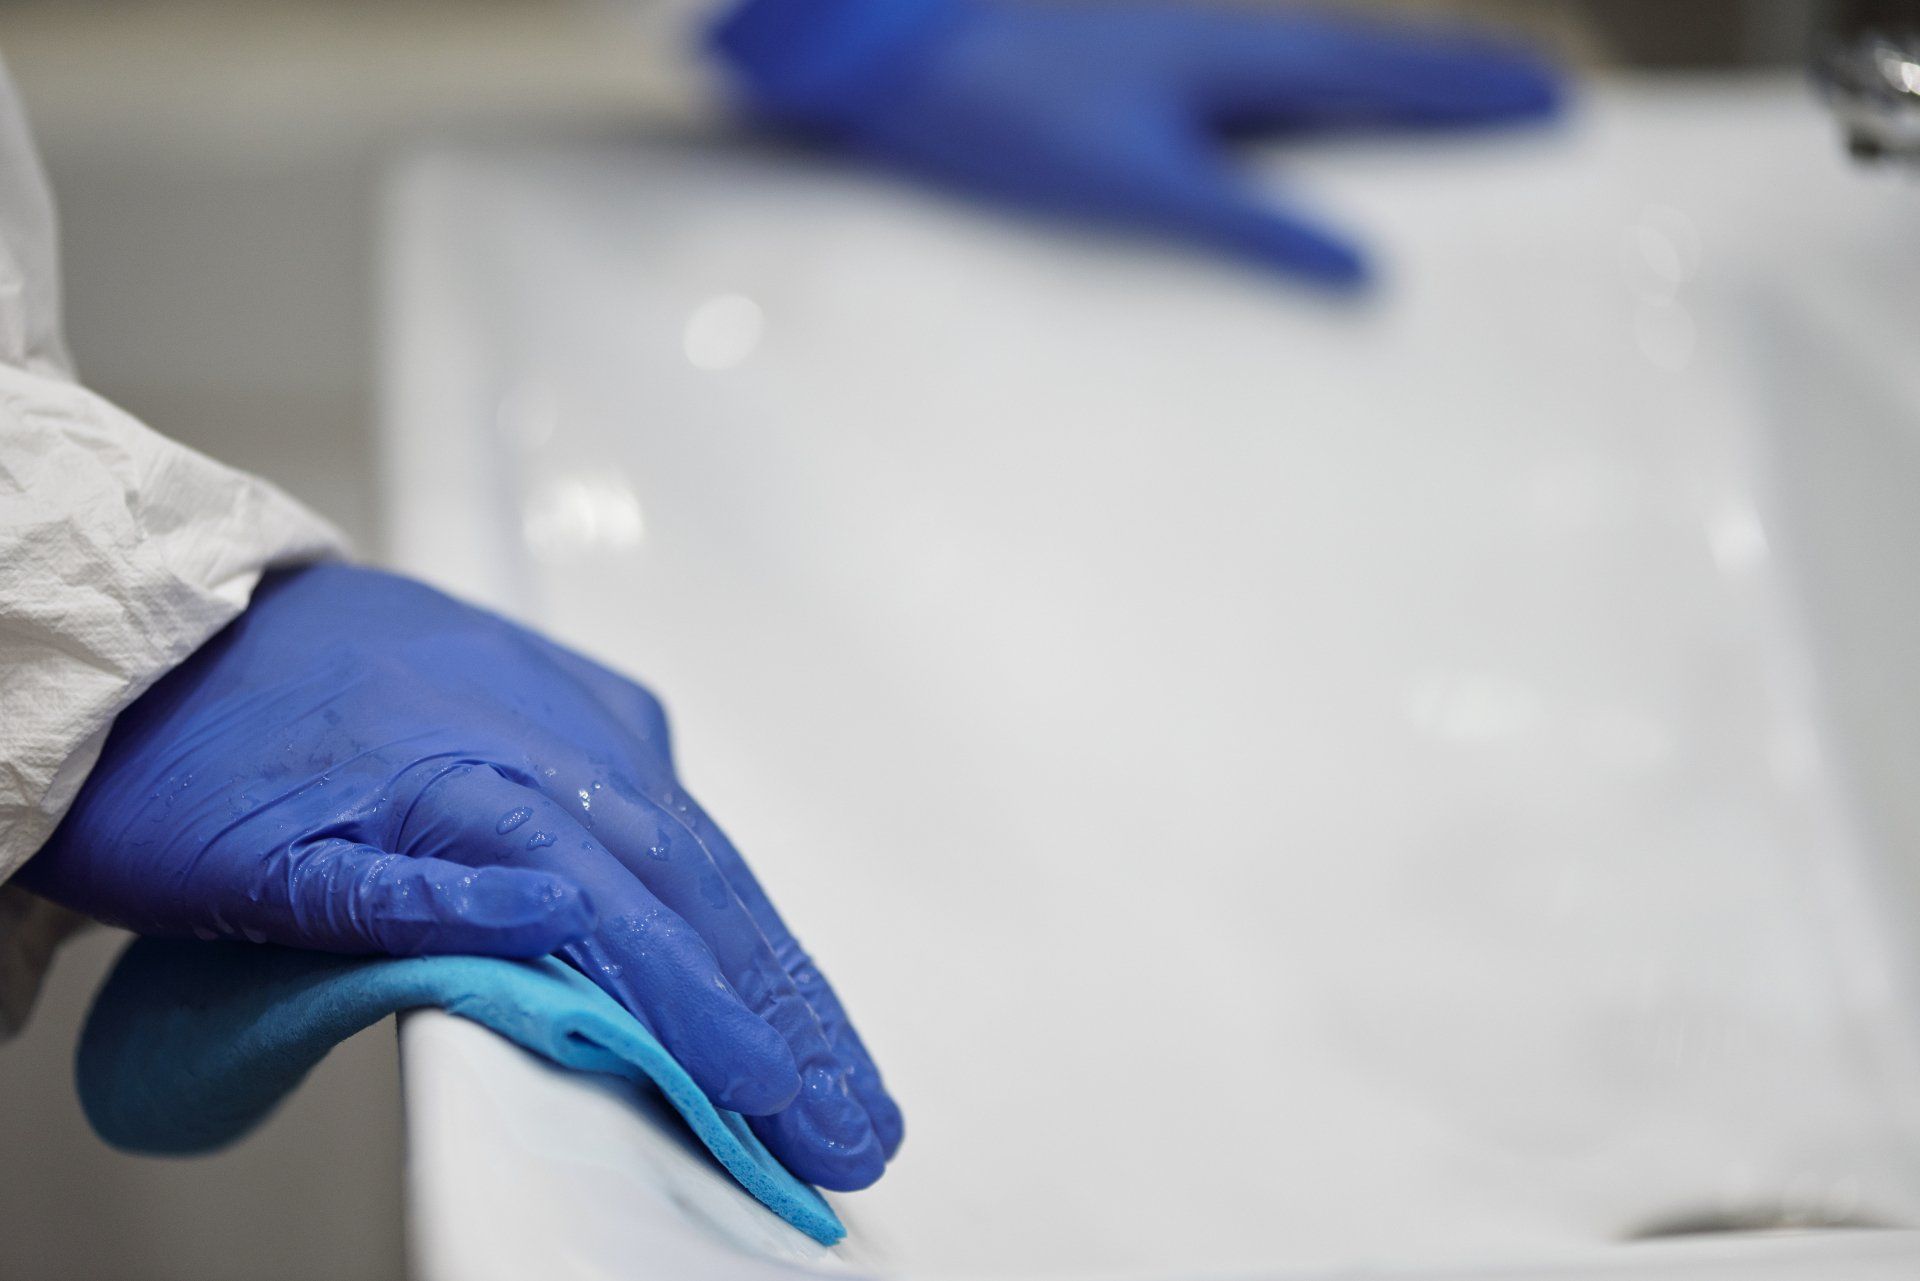
· Non-abrasive Sponges or Scrubbers
· Spray Bottle
· Baking Soda
· White Vinegar
· Mild Dish Soap
· Plastic or Silicone Spatula
· Garbage Bag (for removable racks)
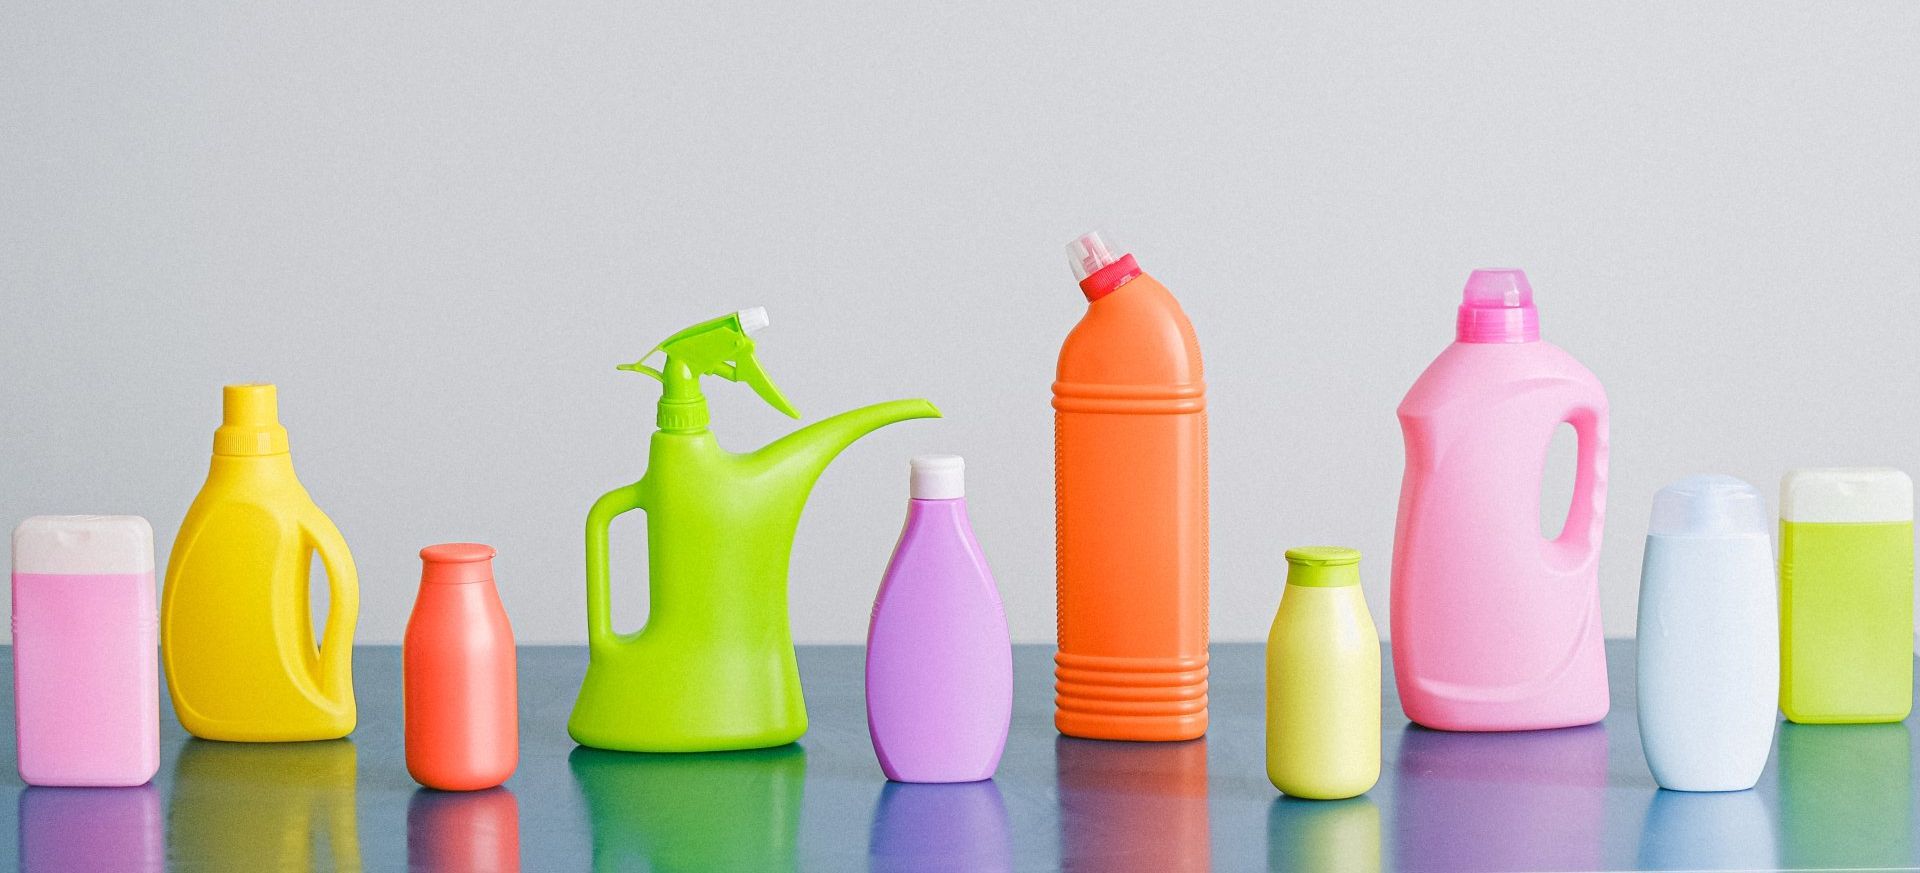
· Face Mask (if using chemical cleaners)
· Safety Glasses (optional but wise)
Every time I’ve skipped gloves, I regretted it—burnt cheese is surprisingly sharp, and some cleaners are rough on skin.
Safe Cleaning Methods
H3: The Natural (and Safe) Way: Baking Soda and Vinegar
This classic combo is beloved for a reason: it’s gentle, effective, and non-toxic for your home and family.
Step-by-Step:
1. Remove oven racks and soak them in hot, soapy water or a bathtub.
2. Make a paste: Mix 1/2 cup baking soda with a few tablespoons of water.
3. Spread the paste: Use gloves to slather the paste over the oven’s interior (skip heating elements).
4. Let it sit: Let the paste work overnight (at least 12 hours).
5. Wipe it out: Use a damp cloth or sponge to remove the baking soda and grime.
6. Spray vinegar: Spray vinegar wherever you see any remaining baking soda. It’ll fizz and help lift stubborn spots.
7. Final wipe: Wipe everything down. Repeat as needed.
Personal tip: If something truly stubborn won’t budge, gently use a plastic spatula. Patience beats elbow grease and avoids damaging surfaces.
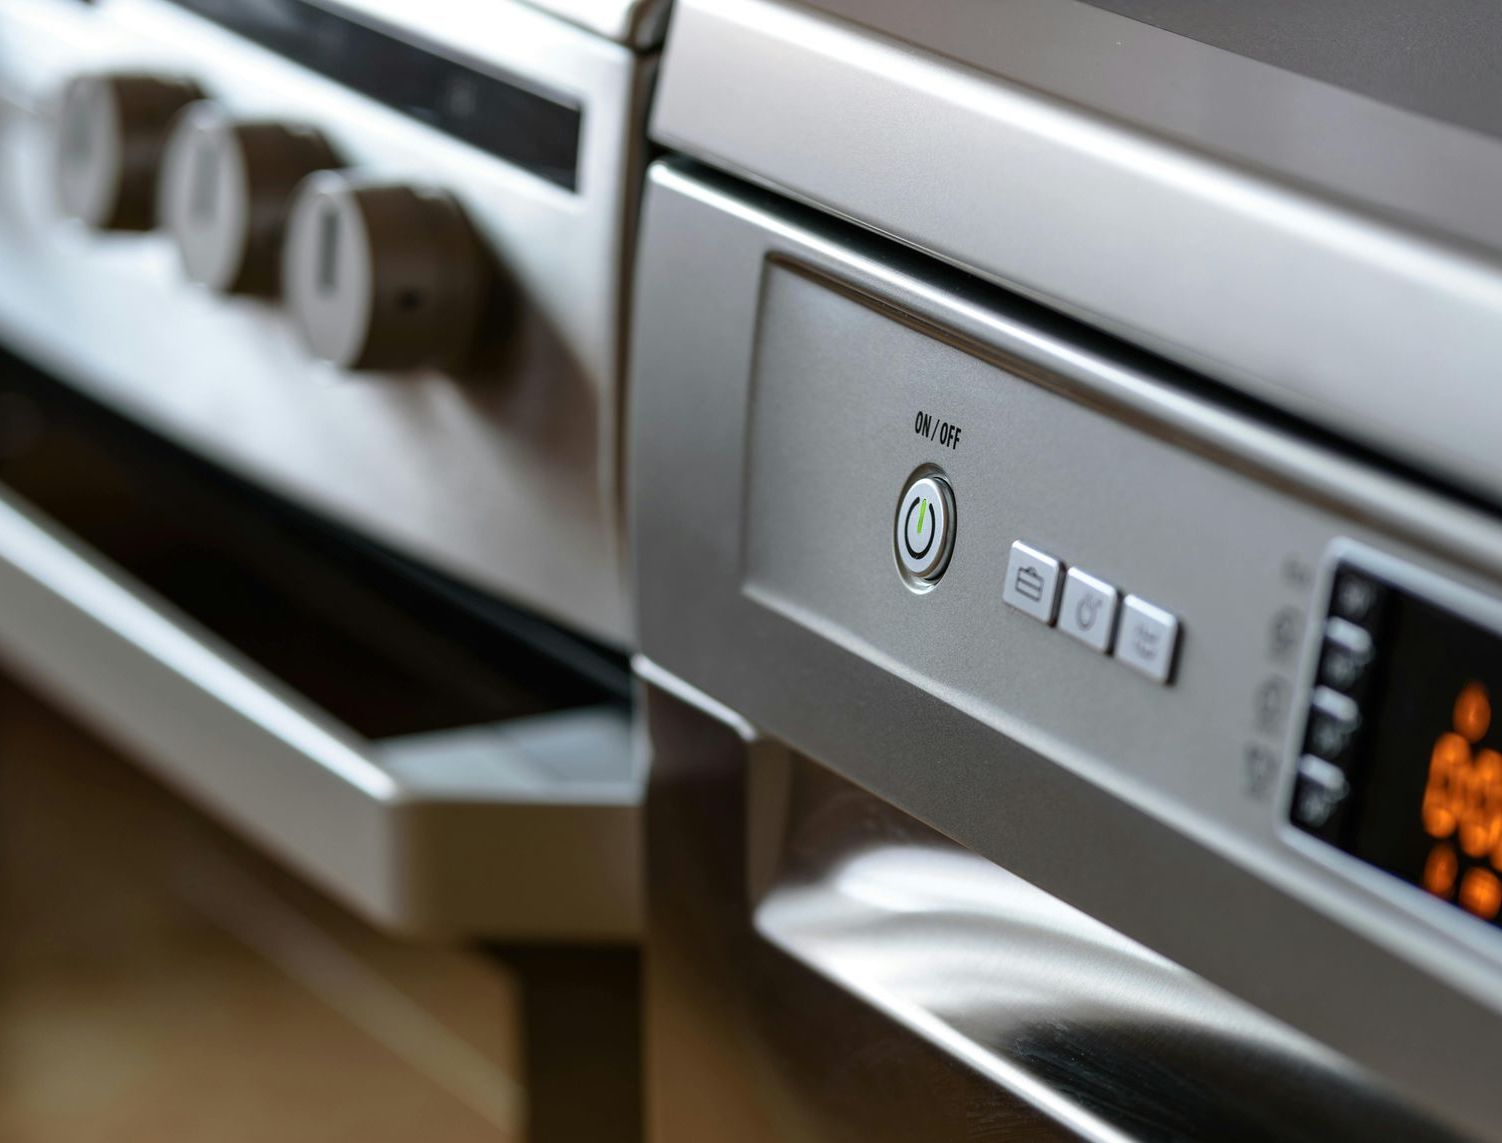
H3: The Self-Cleaning Function—Proceed with Caution
Many modern ovens feature a “self-cleaning” mode. It uses very high heat (over 800°F!) to turn spills into ash.
Safety Tips:
· Read the manual first: Each oven is different; follow your model’s safety recommendations.
· Remove racks: Most should come out to avoid discoloration or warping.
· Stay home: Never run the self-clean cycle if you’re leaving the house.
· Ventilation: Open nearby windows and use fans. The process IS smelly, and fumes can be irritating, especially to pets and people with respiratory conditions.
A friend once turned on her self-clean function before running errands, only to return to a stifling house and upset fire alarms. Always monitor it!Cleaning your oven isn’t anyone’s idea of fun, but it’s an essential part of keeping your kitchen safe, efficient, and even a little happier. If you’ve ever opened your oven and caught a whiff of burnt-on pizza cheese or seen a smoke cloud billowing when you preheat, you know it’s time to tackle the grime. Here’s a friendly, down-to-earth guide to safe oven cleaning—with useful tips, real-life encouragement, and practical steps to keep things stress-free and hazard-free for everyone in your household.
Why Safe Oven Cleaning Matters
Keeping your oven clean is about much more than appearances:
· Fire Hazard Reduction: Built-up grease and food bits can ignite, especially during high-temp cooking.
· Better Taste & Smell: Old residues may impart odd flavors or cause smoke, affecting your meals.
· Efficiency: A clean oven heats more evenly and operates efficiently, saving you time and energy.
· Longevity: Regular cleaning preserves oven parts, potentially saving you money on repairs.
I once ignored a crusty spill from a pie disaster and, months later, found every dinner smelled faintly of burnt fruit. Lesson learned—cleanup saves meals!
Getting Ready: What You Need
Before diving in, gather your supplies. Here’s a handy checklist:
· Protective Gloves (preferably long rubber ones)
· Old Towels or Paper Towels
· Non-abrasive Sponges or Scrubbers
· Spray Bottle
· Baking Soda
· White Vinegar
· Mild Dish Soap
· Plastic or Silicone Spatula
· Garbage Bag (for removable racks)
· Face Mask (if using chemical cleaners)
· Safety Glasses (optional but wise)
Every time I’ve skipped gloves, I regretted it—burnt cheese is surprisingly sharp, and some cleaners are rough on skin.
Safe Cleaning Methods
H3: The Natural (and Safe) Way: Baking Soda and Vinegar
This classic combo is beloved for a reason: it’s gentle, effective, and non-toxic for your home and family.
Step-by-Step:
1. Remove oven racks and soak them in hot, soapy water or a bathtub.
2. Make a paste: Mix 1/2 cup baking soda with a few tablespoons of water.
3. Spread the paste: Use gloves to slather the paste over the oven’s interior (skip heating elements).
4. Let it sit: Let the paste work overnight (at least 12 hours).
5. Wipe it out: Use a damp cloth or sponge to remove the baking soda and grime.
6. Spray vinegar: Spray vinegar wherever you see any remaining baking soda. It’ll fizz and help lift stubborn spots.
7. Final wipe: Wipe everything down. Repeat as needed.
Personal tip: If something truly stubborn won’t budge, gently use a plastic spatula. Patience beats elbow grease and avoids damaging surfaces.
H3: The Self-Cleaning Function—Proceed with Caution
Many modern ovens feature a “self-cleaning” mode. It uses very high heat (over 800°F!) to turn spills into ash.
Safety Tips:
· Read the manual first: Each oven is different; follow your model’s safety recommendations.
· Remove racks: Most should come out to avoid discoloration or warping.
· Stay home: Never run the self-clean cycle if you’re leaving the house.
· Ventilation: Open nearby windows and use fans. The process IS smelly, and fumes can be irritating, especially to pets and people with respiratory conditions.
A friend once turned on her self-clean function before running errands, only to return to a stifling house and upset fire alarms. Always monitor it!